This Tutorial is shared by RobJM of Tehkseven
Here is how I made some svg icons and wallpapers from a jpg image for my Flintstones theme.
I used photoshop and illustrator, but I presume you can do the same with the free alternatives.
Cartoons are probably the easiest of images to convert to vector files, the better the image the easier it is, although it's possible to get good results even with quite poor images with a bit of tinkering.
This is for an icon but it's really just the same if you want to use it as a wallpaper, just adjust the finished size.
Here is the original file I used if you want to follow along > Attached File fred006.rar ( 235.22K ) Number of downloads: 15
This image I used was perfect for this, very easy to do.
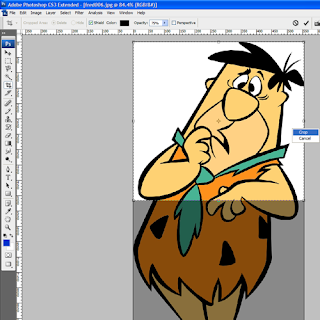
First open up your image in Photoshop and crop it roughly to a square of how you want your finished icon to look.
Then right click on the layer and select 'layer from background'
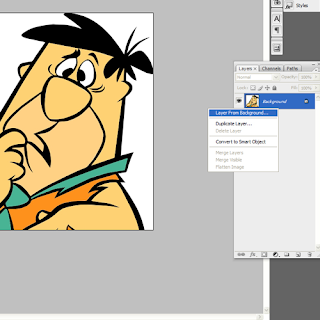
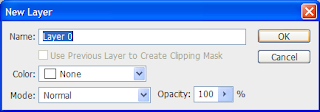
In the pop-up just select OK , it should be then same as below.
Next select the magic wand tool and select the white background with it and press delete on your keyboard to remove it, remove all the background.
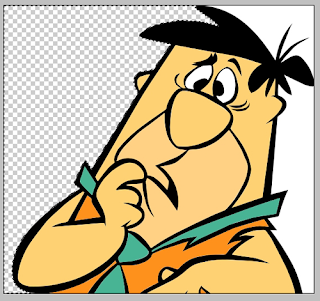
Save your image as a png file, then open that file in Illustrator.
With your image selected, go to 'Object/Live Trace/Tracing Options.
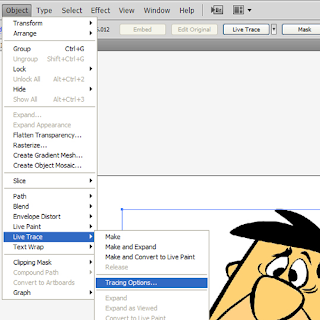
Move the box that pops-up to the side so you can see your image, now in the pop-up box you can see all your tracing options,tick the preview box to see how the settings affect the image.
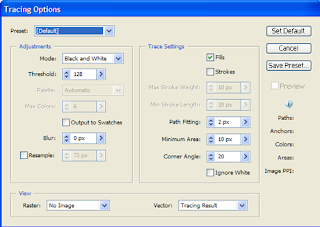
it depends on your image what settings you use, with this image it came out really good just by using Preset 'default' and Mode 'colour'.My final file size came out at 34kb, a bit big I thought for an icon.
I managed to half that file size by using the settings as in the screenshot above, Mode 'black and white' and then colouring the image myself.
So select Mode 'Black and White' then press 'Trace' you should get something like this.
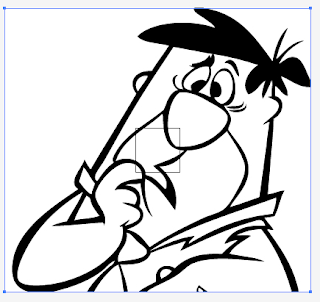
Next go to 'Object/Expand' then select OK.This basically splits the image up into the parts that are outlined by the 'black lines' so you can colour each part individually.
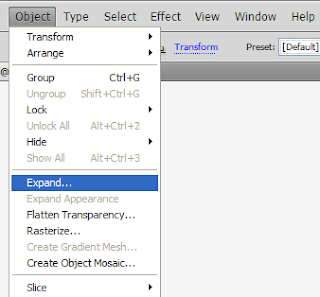
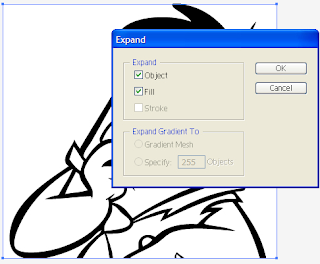
Save it now as svg 1.0, untick 'preserved editing capabilities'.
Next just to make things easier, I copied and pasted the original png file into this one, just to make it easier to select the colours.
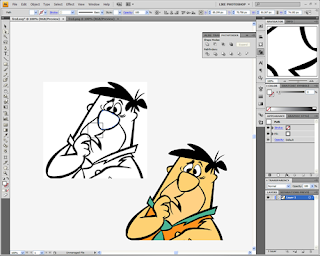
Next use the 'Direct Selection' tool [the 2nd arrow down] and select an area you want to colour, zoom in if you want to make sure you select the correct part, then choose the 'eyedropper tool' and click on the corresponding colour in your png image you pasted in, thats your selection coloured, now just repeat for you entire picture.
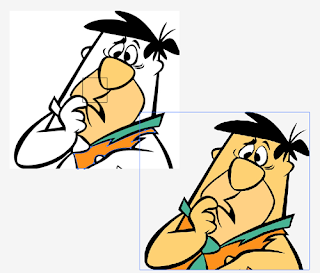
Once that's finished click on 'View/Show transparency grid' if it isn't already showing.
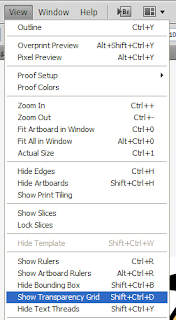
You will see the background is white, simply select it with the Direct Selection' tool as you did above, and press delete on you keyboard to remove it, do the same with each portion of the background.
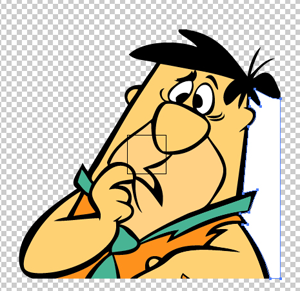
Also use the top 'Selection Tool' and select the png image you pasted in and delete it.
Now to make it an icon, go to 'File/New and make a new document 60x60 pixels, go back to your finished image,go to 'Select/ All then 'Edit /Copy'.
Go back to your 60x60 document and go to 'View/Actual Size' and then 'Edit / Paste' to paste you image in, it will be too big but just select it all , and resize it to fit [holding shift why you do this will keep it's proportions]
Once you have it roughly the right size you can zoom in and make finer adjustments.
Then save it as a svg 1.0 file, untick 'preserve editing capabilities' , that came out as 16kb for me, half the size of the colour mode version, and I'm sure there are other ways to tweak it, to get it smaller still.
Next try it out in carbide...
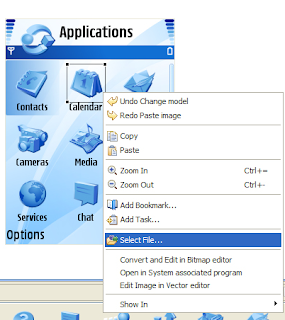
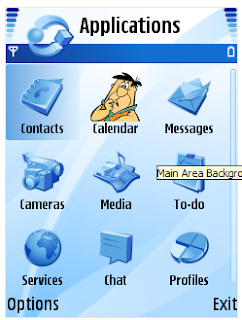
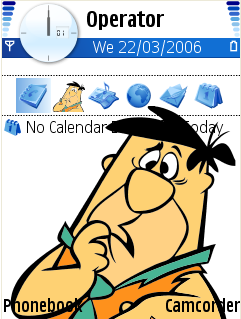
You could also use that 60x60 icon as a wallpaper,because it is vector it will resize to any size without degrading in quality, if you paste your image into a 60x80 [240x320 ratio] instead of the 60x60, you will have a 16kb wallpaper.
If you like this tutorial then consider subscribing to my feed.
Share This Post :

0 comments:
Post a Comment
Post Your Comments Here